
Model Railroad train
Layouts & plans
PDF - Free!
- Learn the Model Railroading tips, tricks and secrets
- Plan, create and work out electrics
- How to save over 60% on model train equipment...
- Avoid de-railments
- And the 5 common mistakes every beginner makes...
The no-nonsense guide to realistic looking and detailed model train layouts.
This guide saves time, money and effort - friends and family won't believe you haven't bought these layouts and scenery.
What's more your layouts will never suffer with de-railments, erratic stops or starts.


 Course, I'm biased, but if you want your next model train railroad to be the best one yet - these track plans will help.
And that goes whether it's been decades since you last picked up some track, or you're just planning your first ever layout.
Get them right now - they are all free.
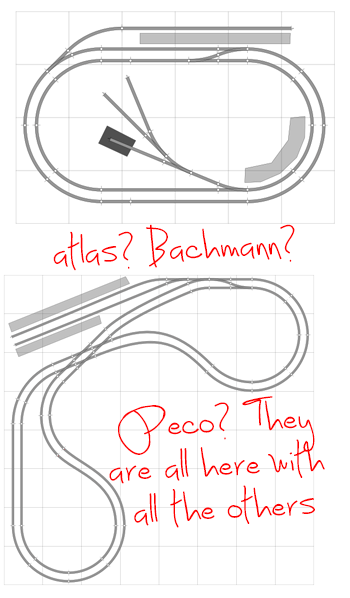
Atlas layouts, Bachmann layouts, Peco layouts... every kind of layout... Grab 'em now.
And there's hundreds of posts on the site to help you on your way too. Here's one from Jo:

"Hi Al; it has been quite some time since I sent any pics.
As a reminder, this is a freelanced late steam era HO railroad (12' x 8') set roughly in Northern New Mexico. The town is "San Juan Creek". The main industries are logging/lumber, coal mining and oil distribution.
The local short line is the "San Juan & Central". Short line locomotives are: 0-6-0 saddle tank switcher and a 2-8-0 freight engine. The coal mining operation has a 4-6-0 "San Juan Coal" #34. The logging operation has an 0-6-0 with a slope back tender "San Juan Lumber Co." # 0687.
Back when I began the layout in 2011, I built it as a modular design because I knew we would be moving at some point. I didn't think that would be 6 years later.
The layout was built in 4 modules and carefully taken apart for the move in April of 2017. Here are some pix of the layout during the process of reassembly of the four modules.

Here they are reassembled.

Level!

And here is the new backdrop. It was my first try and I really like it!
After I went to all the work of assembly and leveling, I took it all apart so I had better access to parts of the rear of the layout. I started with the rear center module.

Some of the prep work and tools.

This is the west end of the rear center module. I thought I was going to use 1/2" foam board until I realized it would take forever!

So I switched to the 'old school' hard shell construction. I placed printouts of actual pictures I had taken along the "Cumbres & Toltec" in New Mexico and Colorado as "mock-ups".

The pink foam board, however was a good base color for the exposed rock, it came out perfect with a little painting.

Plaster cloth applied and I am checking clearances with the 2-8-4 loco.

Other end (east end) of the center section.

Plaster cloth applied.

DONE with this module. I accidentally discovered a technique for making these sculptamold rocks. As the sculptamold dried, i noticed it looked like an outcropping of rocks so I scrapped it out of the mixing bowl and just "slapped" it on the plaster cloth! With some paint and shading, they look real.
I then moved this module back against the wall and attached the two side modules and front center module.
Landscaping in the next installment.
Jospeh"
If you enjoyed Jo's narrative - there are hundreds more on the newsletter.
Why jump on right now?
Best
Al
PS I respect your privacy. Your details will never be passed on, sold or rented - ever. I hate spam as much as you do.
PPS And if you jump on my newsletter you can jump off at any time, with one click.


Home | Contact | Privacy
Alastair Lee Ltd | Quay House | Quay Road
Newton Abbot | TQ12 2BU
al@modelrailwaylayoutsplans.com
|


